I have made 13 videos since February and have more than 1.1k fans on Bilibili.
Although the number of fans is not large, it is time to share the shooting and editing equipment. I only have 9 devices in total. Some of them are quite expensive, but if you look at them over a long period of time, they are all very cost-effective and can be held for a long time.
Lighting equipment
Lighting has the greatest impact on the texture of shooting, so let’s start with the lighting equipment.
Lighting: Godox ML100Bi
The light I use is Godox’s ML100Bi. The purchase price on Double 12 last year was 980+ (including an octagonal soft box and a battery handle).
The reasons that attracted me to buy this lamp are:
- Nice design, white light body with red button.
- Compact and lightweight, weighing less than 500g.
- Supports dual color temperatures and the light is bright enough.
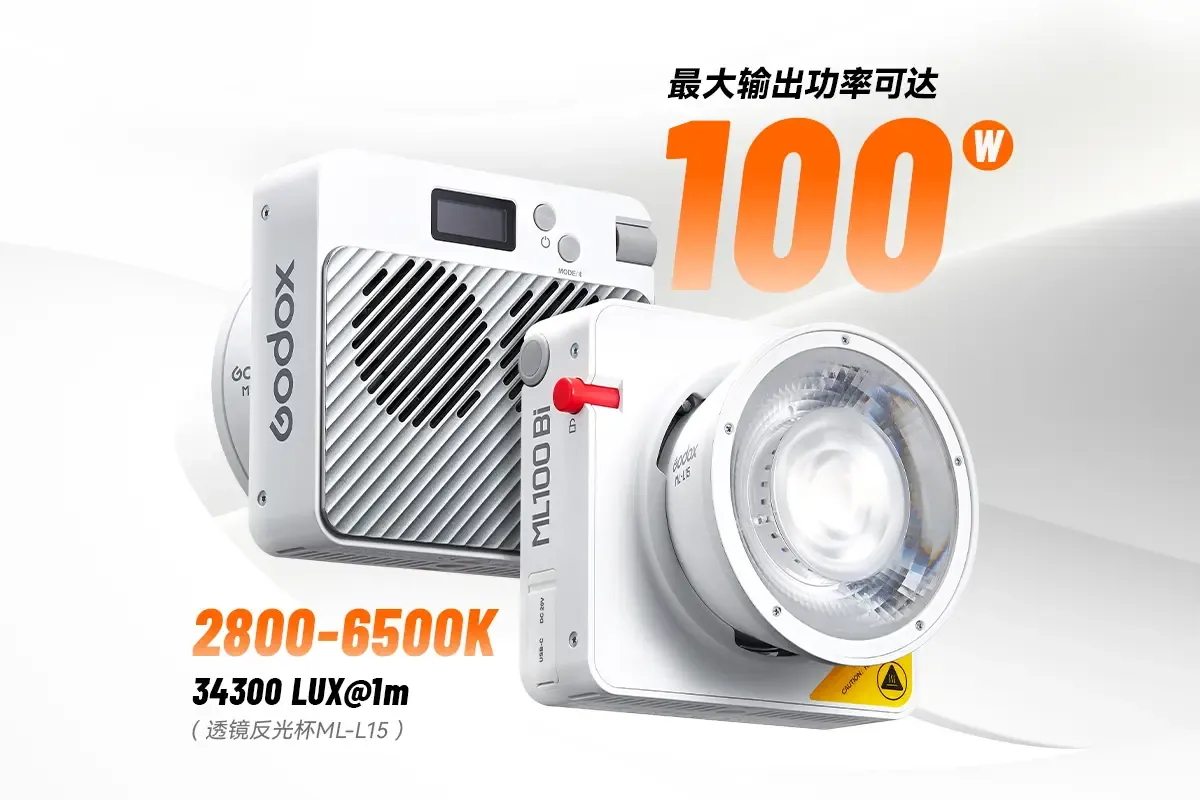
When I shoot, I place this light at a 45-degree angle to the side. The lighting parameters when shooting are 6500k color temperature and 100% brightness. Since I only have this light, I also turn on the ceiling light in the room to supplement the light source.
But this lighting method will cause my picture to be very flat, without deep shadows. If the room is large enough and the budget is sufficient, just buy two lamps for lighting, and the effect will be much better.
Light stand: Godox 2.8 meter aluminum alloy light stand
There are 2 factors to consider when buying a light stand: height and stability.
If you sit down and shoot, a lighting height of more than 2.5 meters is definitely enough; stability depends on whether the bracket is solid or not, so as not to drop the lamp.
The stand I used before was very flimsy and very short. Every time I took a photo, I had to put the battery handle on it and then screw the light on the battery handle to make it big enough for shooting. My glasses always have reflection problems in the video, probably because the light stand is too short.
During this Double Eleven, I bought a Godox 2.8-meter aluminum alloy light stand with a maximum height of 2.8 meters. It weighs more than 1.5kg, so it is very stable, can bear 8kg, and is not expensive at only 40+.
Soft box: Godox octagonal soft box
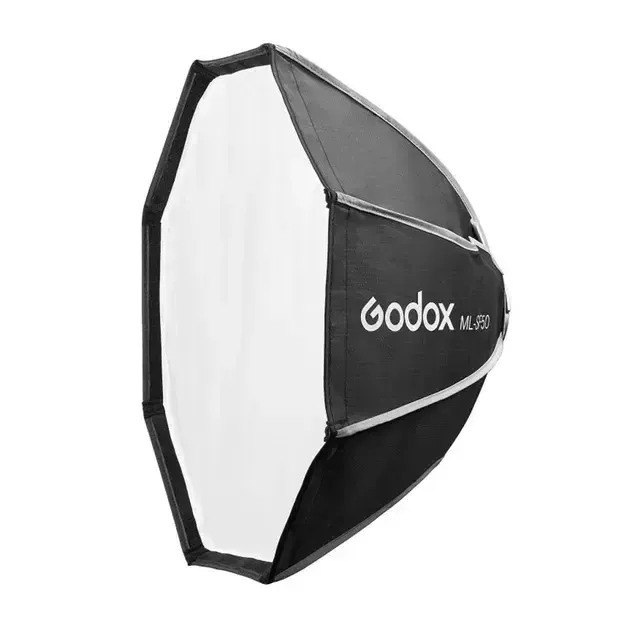
When shooting videos, a softbox is a must. I use the ML-SF50 octagonal softbox that comes with the ML100Bi.
At that time, I saw some people recommending using a third-party softbox, which would be more cost-effective, but you must buy an adapter for the Baorong mount, because the Godox bayonet is different from the universal one.
So I was too lazy to bother, so when I bought a light, I just chose the package that included an octagonal softbox.
Shooting equipment
Mobile phone: iPhone16
All my videos are shot with the front camera of iPhone16.
I remember that starting from iPhone13Pro, iPhone shooting has a cinematic effect. This effect is to be able to identify the human subject and blur the background, making the video shot by the mobile phone the same as that of the camera.
If you’ve seen my videos, you know that I use a blur effect in every video, which makes them look more professional.
The video format I shot is 4K/24 fps, but in order to save the storage occupied by the finished film, the resolution exported from the editing app is 1080P.
For novice video creators, there is no need to consider buying a camera at all. iPhone is the best video shooting device.
Especially after the iPhone 17 launched the Center Stage function, it is more convenient to shoot with the front camera.
Tripod: Yunteng 668
The tripod I use is Yunteng 668, which I got from an old company a few years ago. The current price is 100.
When I was shooting, I just stuck the phone horizontally into the phone holder and started shooting.
This tripod is also very stable, so after I finish shooting, I will hang my softbox on this tripod.
Radio equipment
Microphone: Mammoth Lark M1
Mammoth Lark M1 Before DJI launched the Mic Mini, it had always been a cost-effective device in the 200 yuan price range.
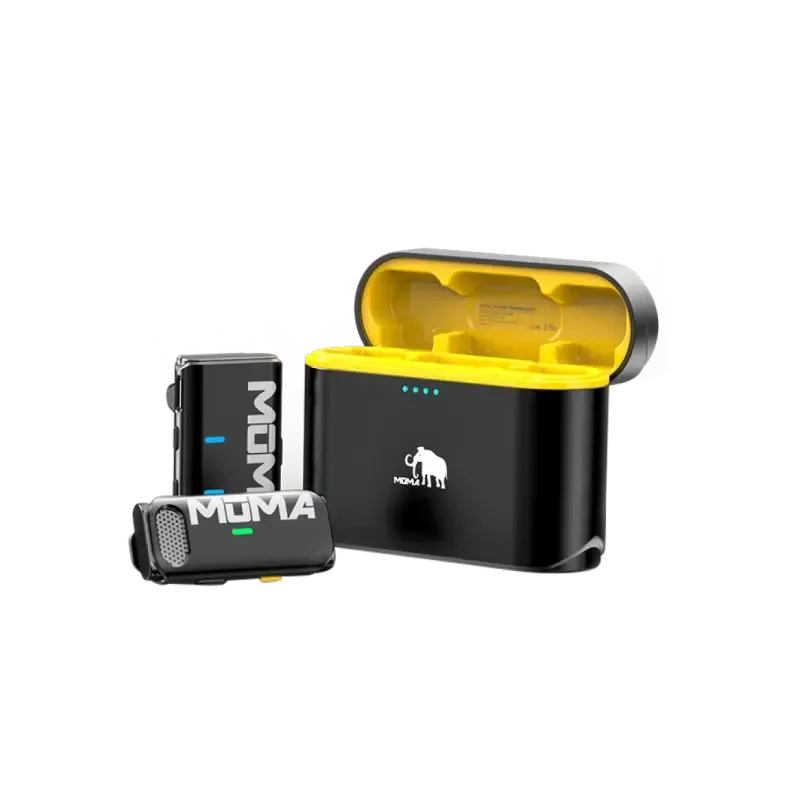
I compared it with the Mammoth Yuesheng S1. Although the two have the same price, the noise reduction effect of the Lark M1 is better, which may be related to the receiver.
The Type-C receiver used by Yuesheng S1 can be directly plugged into the mobile phone and can transmit to the mobile phone; the Lark M1 uses a transmission line + independent receiver, which is more traditional but has better effect and can also be connected to the camera.
I bought it second-hand from Xianyu, and it costs 150+ for one drag.
I may also consider upgrading the microphone to a DJI or directional microphone next year. Although the Mammoth microphone has good noise reduction, the recorded sound is not loud enough and requires +20DB of sound in post-production. (Of course I would rather have a microphone manufacturer come to me for cooperation🤣)
Editing equipment
Computer: MacBookPro M4
Last year on Double Twelve, I bought a MacBookPro M4 from JD.com, and the national reimbursement was 10,999.
I upgraded to this computer from a 2020 MacBook Air and a 2019 MacBook Pro, and the improvement is so obvious, so smooth and quiet.
If you want to edit and are an Apple user, just buy a MacBookPro. The 16GB of running memory is enough for editing movies. In my memory, I may only hear the sound of cooling from the computer once or twice.
Because I still use this computer for work, if I use it for 5-8 years, the price/performance ratio is very high.
Hard drive: Samsung T7
I just bought the hard drive during Double Eleven, because my computer storage is 256GB, so if I’m making videos for a long time, I definitely need an external hard drive.
Regarding the hard drive, I learned that Samsung does a better job. This time I just bought a 2TB one, hoping to use it for a longer time.
The price is 980+, which is not a particularly cost-effective price, but I don’t want to wait any longer.
Mouse: MX Master3
The most helpful equipment for editing is a computer and a mouse.
I have been using MX Master3 for more than 2 years. I purchased it from within the company for only 300 yuan.
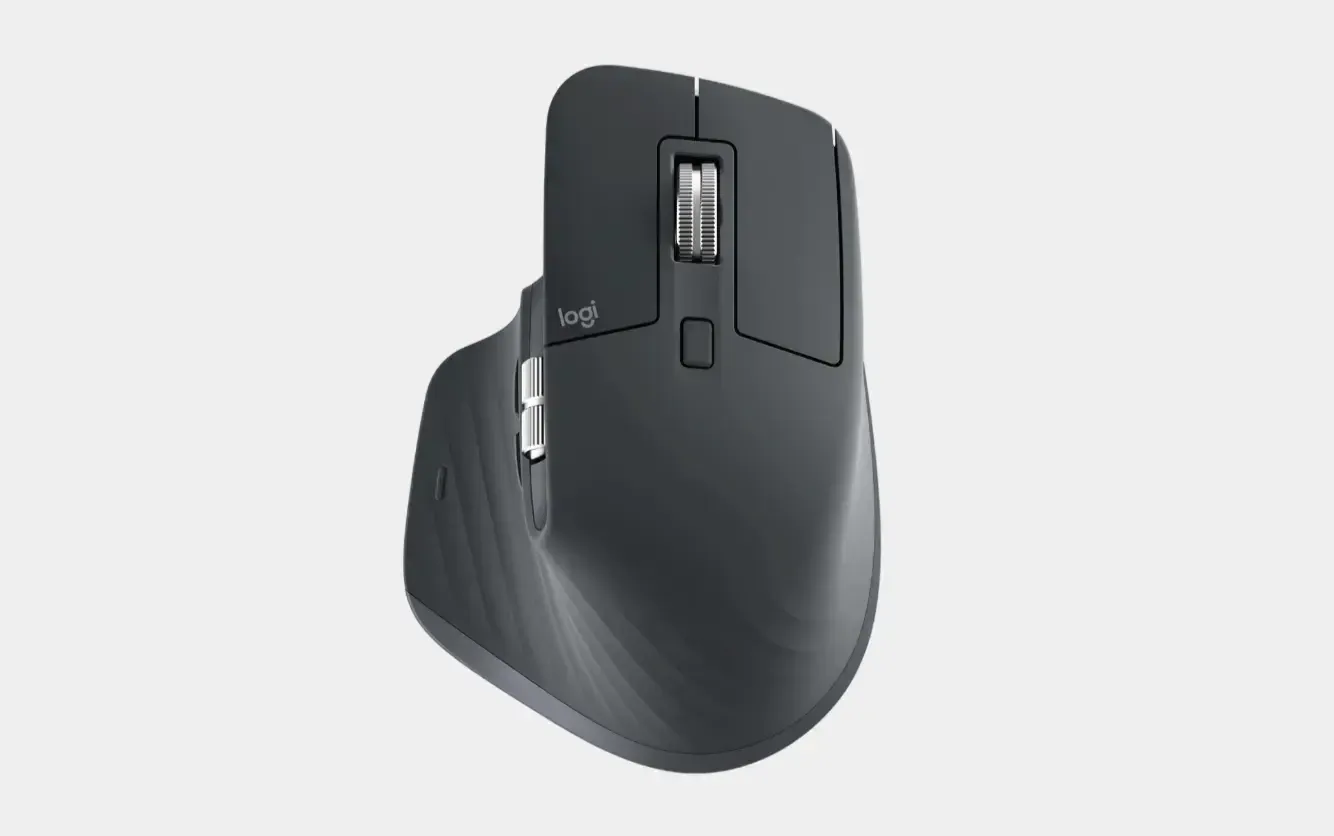
What I like most is its horizontal scroller, which allows you to quickly scroll left and right through the timeline while editing.
Another convenient operation is to set the two buttons on the side as shortcut keys for enlarging Command+
and the shortcut key for zooming out, Command-, so that I can zoom in and out of the timeline by pressing these two keys in the clip.
In my mind, there is currently no more cost-effective alternative to MX Mater3. Once you have used this mouse clipper, you will never go back.